 Blog-Design
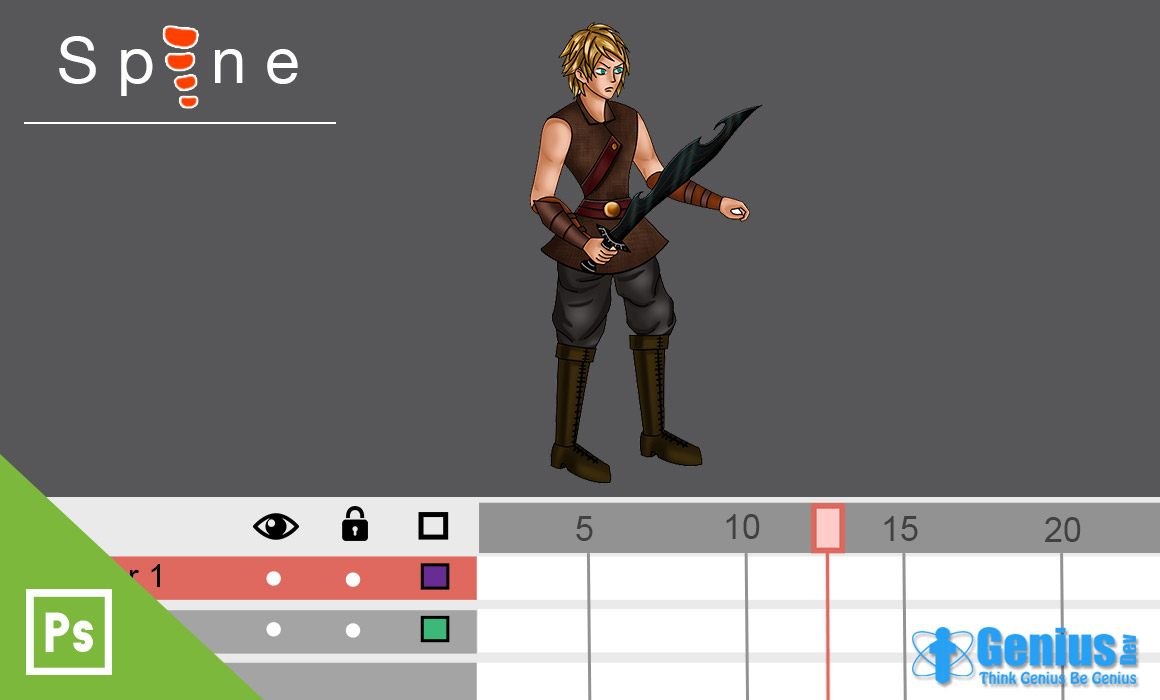
2D Animation creates movements in two dimensional space. If You are going to make animation using spine, First you have to divide your character in different parts.
Before you start dividing your character into different part, you have to imagine about all skeleton and joins of your character. Each part of the character that will move independently needs to be a separate image file. In my example you can see that i divided character from all joins as per human body.
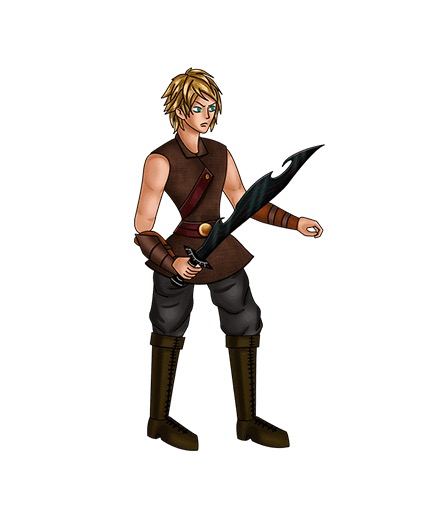
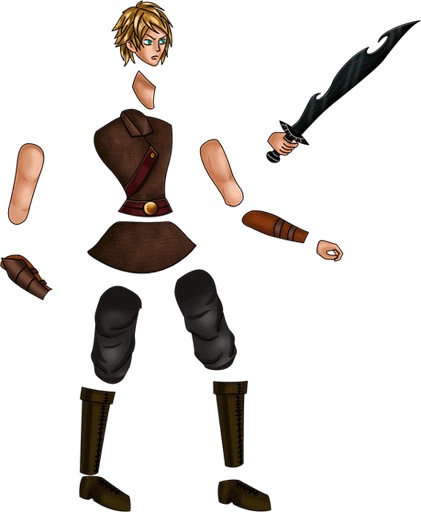
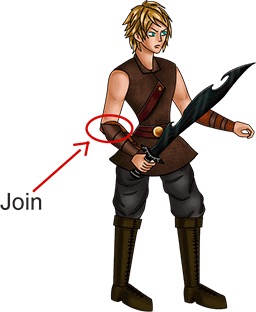
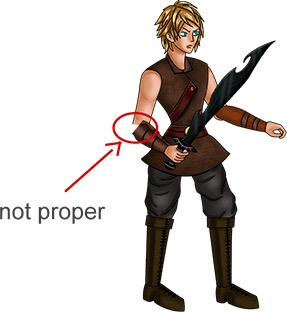
Make sure that all of your images have rounded cut, otherwise it will not give a proper animation movement. As you can see in my example hand image having rounded cut give a proper movement of hand, and if your cut is not proper then it will not give a proper movement.
Give a different name to all of your images. ( don’t give same name to two different image, that will replace each other). Now to export your photoshop file for spine, you need a script that is already assembled by spine named ‘photoshop-LayerToPNG’. First you have to download this script.
Now go to file -> script -> Browse -> select downloaded script.
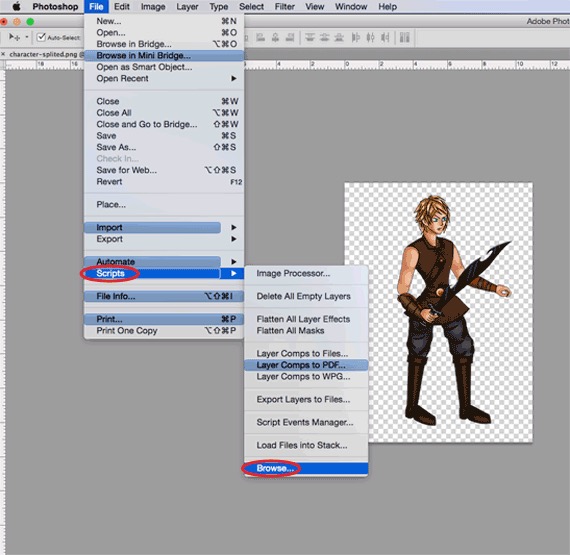
That will display you a popup box, in which you have to set path to where you want to save your images and json file. (make a different folder for image). Check your image folder, your character is divided into different parts as you cut in photoshop and all parts are save as a separate image file.
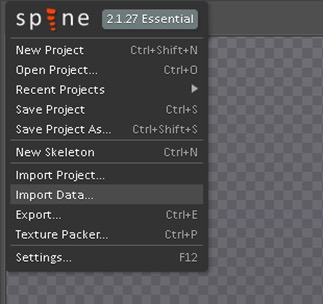
Now open spine -> click spine -> import data.
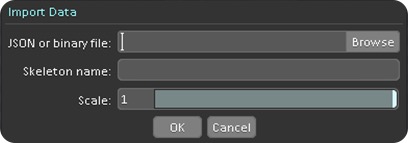
That will display you a popup box. Now click on browse and select your json file generated by script.
That will display skeleton of your character as show in image.
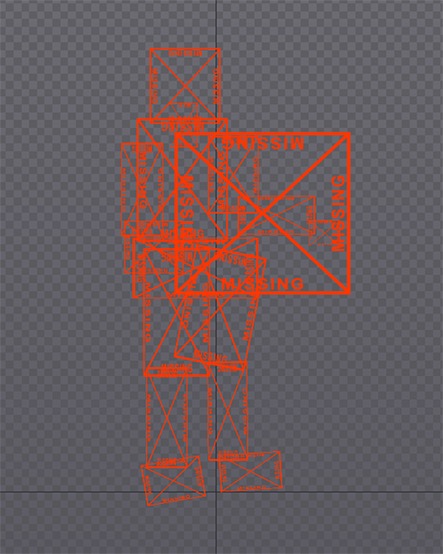
Look at right side, one folder named ‘images’ is generated. click on that folder and then click on browse, select your image folder.
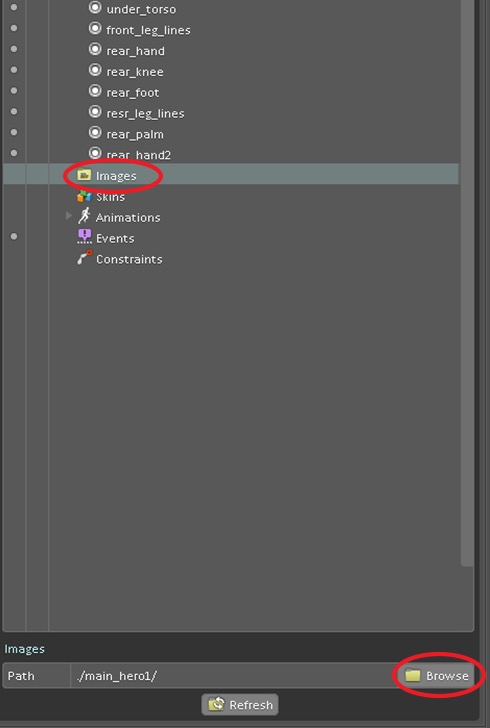
Look at right side, one folder named ‘images’ is generated. click on that folder and then click on browse, select your image folder.
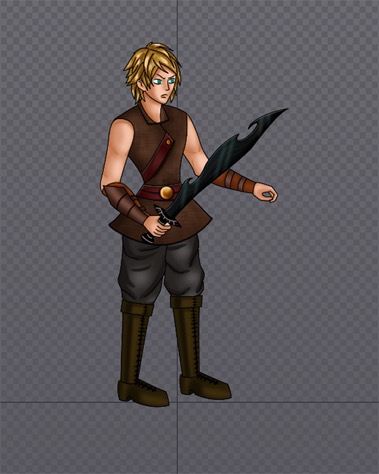
I hope you like my tutorial and find helpful solution of your problems.