Blog-Design

Hello every one.. Here I am going to explain how to make GIF of ‘Slide to Unlock’ using photoshop.This is generally used in mobile lock screen.This is very simple and easy. I am sure that, after reading this artical you are able to make such a beautiful gif using photoshop.
1. Open Photoshop, Click File -> New.
2. Select Color Picker & choose color : #2f2f2f and set it as a background color (alt+Backspace)
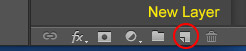
3. Create New Layer. to create new layer, below to layer panel click on last to second icon.
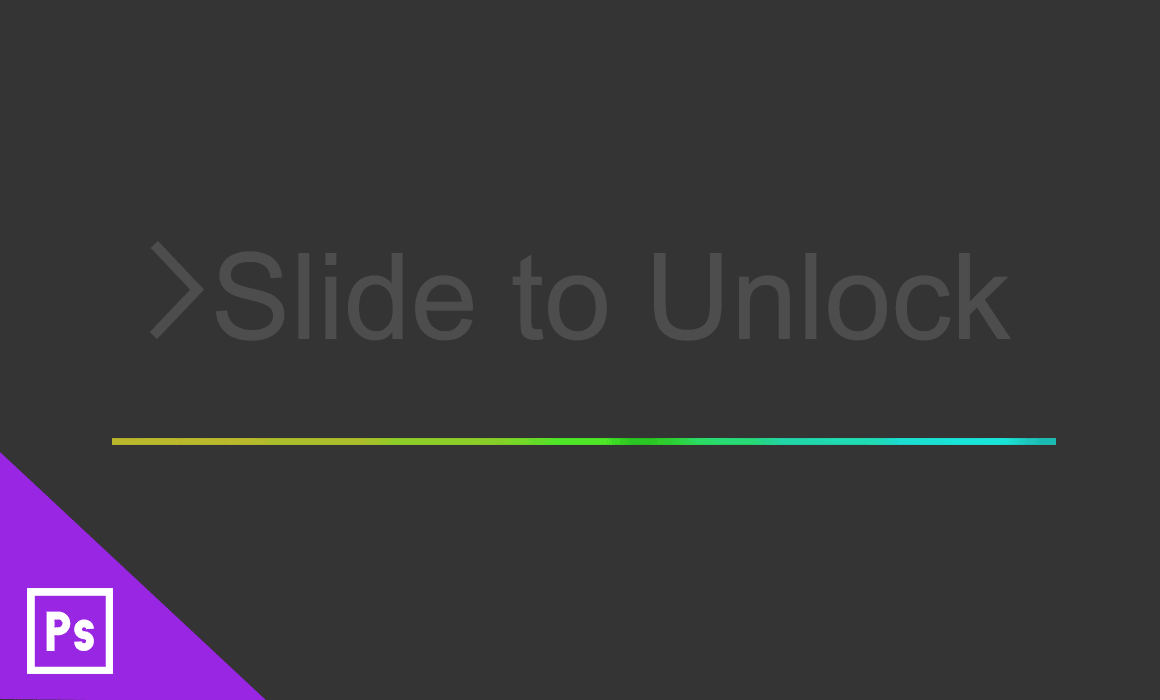
4. Select ‘ type Tool ’ From tool Panel or press ’ t ’and Type ‘ Slide to Unlock ’.
using Pen tool Make Direction arrow at begining as show in image

5. choose brush Tool (or Press b) , different options will appear at top left side. choose soft brush and set opacity about to 70%.

6. Add new layer and make spot of 3 colours using brush as show in image.

7. Now select text layer and Direction arrow layer , right click and choose convert to smart object. (or press F3) Now we have to done masking of color layer to your text layer. for that Select color layer, with pressing ‘alt’ move cursor between both layer. one down arrow will appear , click and release ‘alt’ key.
8. Now go to window -> Time line.
in first Frame of time line put your color layer at left side of your text. Generate Duplicate Frame in timeline and in this put color layer at right side of your text layer.

Select both window, click on ‘tweens animation frame’. set ‘Frames to add : 12’. that will generate 12 frames. Click on Play button. your Animation is Ready.